Taximeter. Working with sales tax.
Start by adding taxes. MENU > TAXES. In the list of taxes, presumably empty at this point, tap on a + button to add a new tax entry:
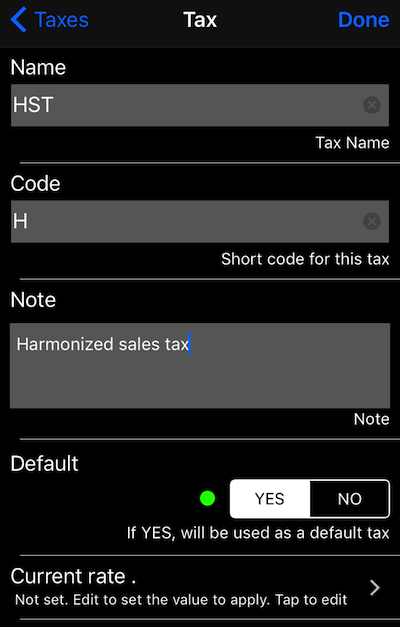
If this is a tax that should apply to the time and distance fare and also be offered by default for extra items, select “YES” in the default section. There can be only one Default tax at any moment, app will take care of this.
To enter the tax rate, tap on the “Current rate” row in this screen and you see the list of rates valid for this tax for different date ranges. Why date ranges? Because the tax can be 5% till 31-Dec and then 6% from 1-Jan following year. App supports such scenarios, but by default offers the rate to be valid “forever”, so you don’t need to enter any date, just rate. So tap on a + button in the list of rates by date and enter the rate:

Confirm by tapping “Done”, then “Back” to return to the tax screen. Make sure to tap “Done” here — there’s no confirmation prompt yet if you back out with the tax unsaved.
Here is my list of taxes after entering them for Canada (or lets say some part of Canada):
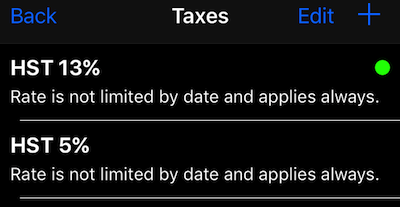
Taxes may have the same name, like HST above, but I’d expect you to distinguish it then by the rate as it doesn’t make sense otherwise. The green dot in the list marks the default tax.
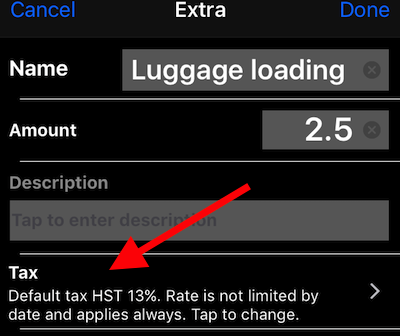
Now as you have this done, the default tax will be automatically applied to the tariff related charges (distance, time + entry). For the extras, unless you explicitly tell otherwise, the default tax will be applied as well, since the moment you setup the default tax record. You can always setup a different tax for every extra or mark it as “no tax”, here is a sample list of extras with tax setup differently for each item:

When you edit the extra, there is a tax row to tap and pick the tax that applies to the extra:
During the trip, you can change tax on any added extra or the Arbitrary extra you’ve added. You do this via the trip extras list (minus button above the EXTRA label) and this applies to extra in this trip only.
To show tax information on the receipt, pick a “fare breakdown receipt” in the receipt screen. Tap on a receipt type selector:
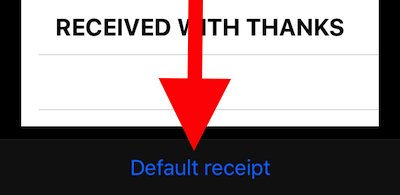
And pick “Fare breakdown receipt”. This receipt shows tax information, if tax is setup:
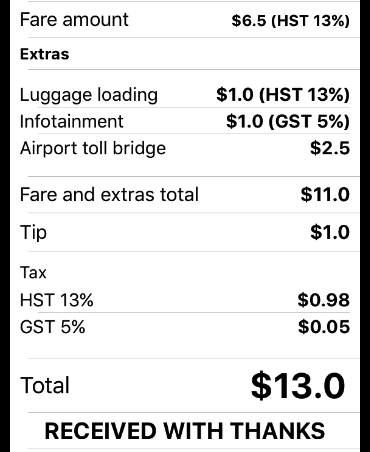
The above shows the printed receipt. Before printing, the receipt’s Total is a button — tap it to adjust the total amount if needed, and the app will automatically calculate the tip or discount. Tip is free of sales tax; a discount is subtracted from the default tax base, so you don’t pay tax on the discounted portion of the service.
How do you define if tax is added on top of the fare or is included in fare and extras? This is driven by “Advanced” setting. Open the main settings screen and tap on the top-right “Advanced” button. Scroll down to the “Tax handling” section and choose “included” or “on top”:

That should cover it. If you get stuck, tap the star button and choose “There is a problem” to contact support.