Watermark: one mark, on your photos and your videos
A watermark is your mark on work you hand over: a logo, a company name, a case number. GPS Camera 55 draws it into the stamped copy of a photo and into recorded video, over the top of whatever else the overlay is showing.
There is one watermark — one image, one line of text, one set of colours — and it can appear in two places. Whether it appears on photos, whether it appears on videos, which corner it sits in and how large it is are decided separately for each.

That is a watermark on the live viewfinder — semi-transparent, in the corner you chose, over the picture rather than beside it.
Open MENU > SETTINGS, then Watermark.
Photos and videos are switched on separately
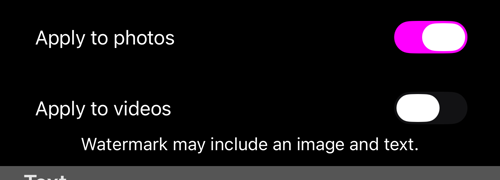
- Apply to photos puts the watermark on the stamped photo. The original is
never touched, so a photo saved as
Originalhas no watermark on it. - Apply to videos does the same for video you record in the app.
They are genuinely independent: it is normal to mark the photos you send to a client and leave your own video clean, or the reverse.
On the free version the watermark is always applied and the switches will not release it. That is the app’s branding on free output, not a setting that has stopped working. The paid version is what makes the watermark yours to control — and to replace with your own.
The text
Up to three lines are drawn. A company name, a site or case reference, a contact — whatever the person receiving the file needs to see. Leave it empty and the watermark is the image alone.
The image
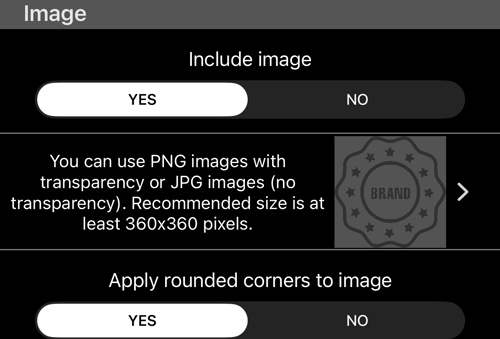
- Include image turns the picture part on and off independently of the text.
- PNG with transparency, or JPG without. At least 360×360 is recommended. A square or circular mark works best.
- Apply rounded corners to image softens a square logo into a badge.
Add the image through Files, not the photo library. This is deliberate: the photo library re-encodes PNGs and flattens their transparency into an opaque JPEG, which turns a transparent logo into a white box. Tapping the image row opens the Files picker instead, so the file arrives exactly as you made it — from iCloud Drive, Dropbox, Box, a NAS, anywhere Files can reach.
Colours and transparency
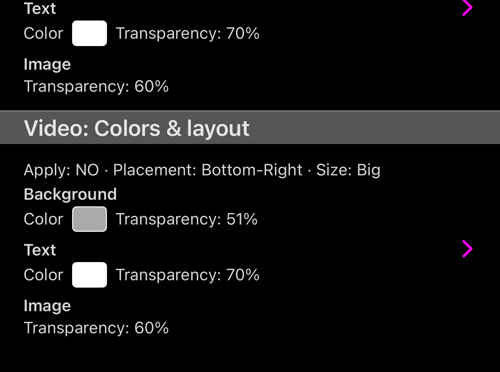
Three things carry their own colour and their own transparency: the background plate, the text, and the image. Transparency is what makes a watermark a watermark rather than a sticker — enough to read, not so much that it hides the picture underneath.
Because the background has transparency of its own, the colour you pick will always look paler on the photo than it does in the picker. That is the transparency doing its job, not the colour being wrong.
Where it sits, and how big — per medium
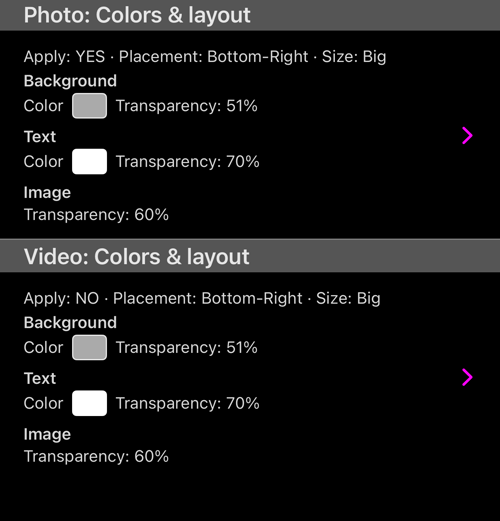
This is the part that surprises people, and the screen shows it plainly: there is
a Photo: Colors & layout section and a Video: Colors & layout section,
each with its own summary line — Apply: YES · Placement: Bottom-Right · Size: Big.
- Placement is one of the four corners; bottom right by default.
- Size is set per medium too, because a mark that reads well on a photo can be too small to read in a video played on a phone.
Until you change the video values they follow the photo ones, so setting it up once is enough if you want both to match.
Where it sits among the other overlays
The watermark is one overlay among several, and the overlay layout is where they are arranged together — the screen that shows you the frame rather than a list of rows.
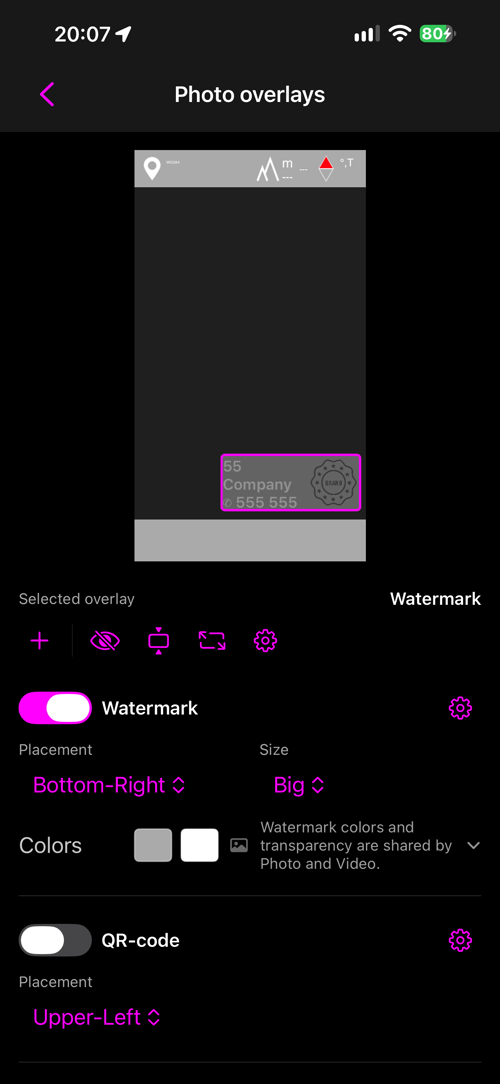
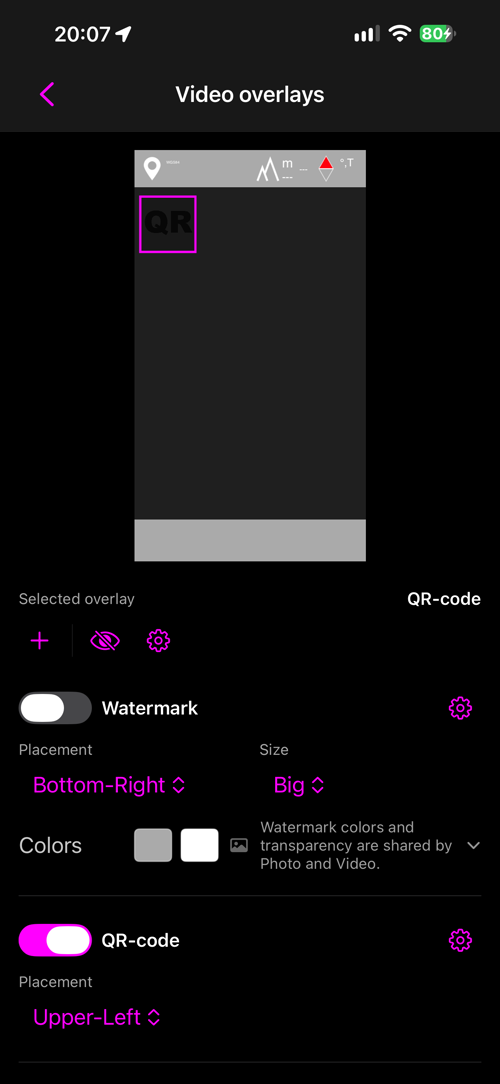
The two are worth looking at side by side. Each has its own Watermark switch, its own Placement and its own Size — and the layout screen states the rule in its own words: “Watermark colors and transparency are shared by Photo and Video." One mark, arranged twice.
The same watermark, reached from video
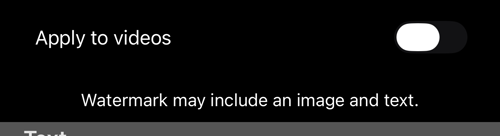
Video settings has its own way in — Video settings > Watermark — and it opens
the same editor scoped to video: one switch, and the video’s own colours and
layout. The text and the image are the shared ones, so editing them here changes
them for photos too.
In that scoped view a line points out that some appearance belongs to the overlay layout rather than to this screen: “Go back to the overlay layout to change these properties."
This is the only way into the watermark in Speedometer 55, Compass 55 and Planimeter 55, which can mark video but not photos.
Related pages
- Video recording, replay, and data overlays — where the video watermark is switched on
- The photo stamp — the location overlay the watermark sits over
- Photo capture settings — Original versus Stamped, and which copies are saved
- Notes overlay settings — the other half of the stamped image
- PRO PACK — what the paid version unlocks