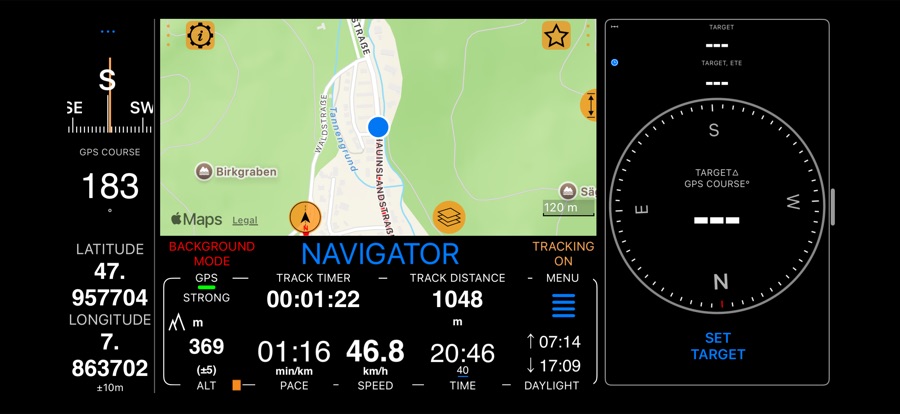
Side toolbar: one tap from the dashboard
Can I start a track, mark a waypoint or film the trail without opening the menu? The side toolbar keeps the tools you use most beside the dashboard, one tap away, and shows the way to your target, your heading or your altitude while you move. You choose the tools and their order.
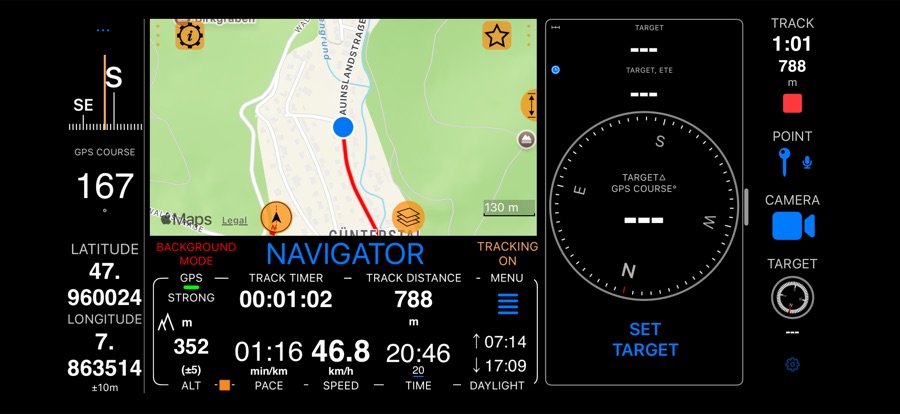
Where it appears
iPhone Duo: the toolbar is on by default, in the vertical bar beside the screen, with the phone closed or open
and in every orientation. To leave the bar empty, turn off Enable side toolbar in MENU > SETTINGS > Side toolbar.
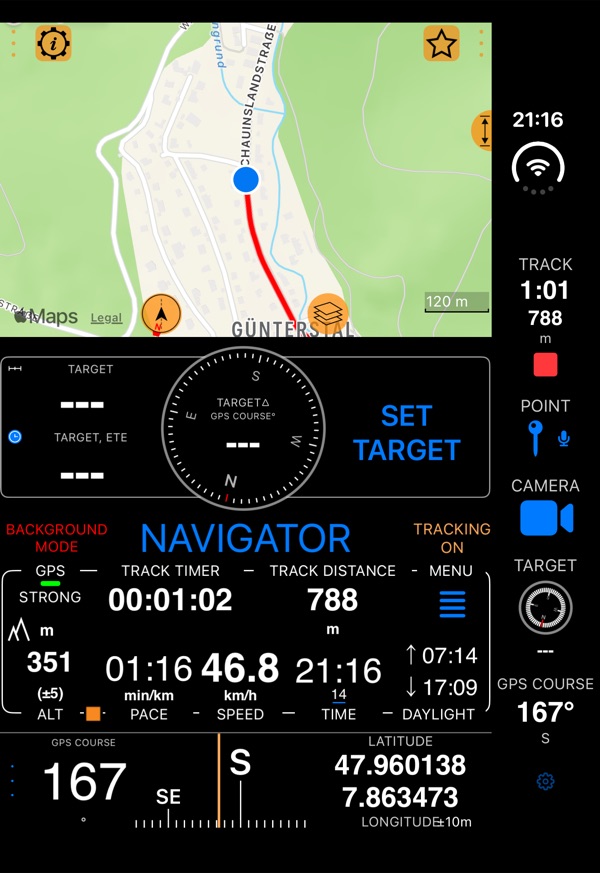
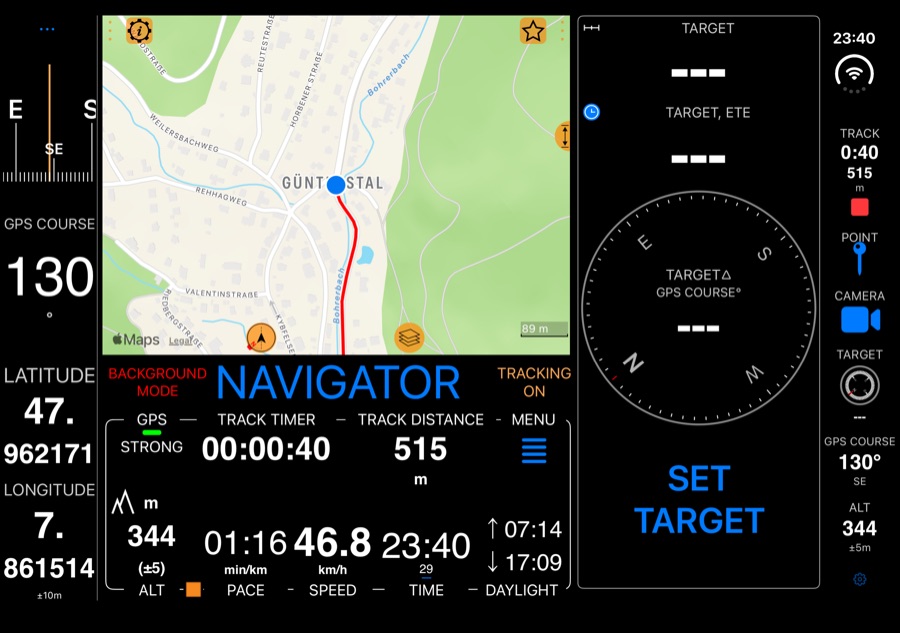
Other iPhones and iPads: turn on Enable side toolbar in MENU > SETTINGS > Side toolbar. The toolbar appears
on the right while the screen is in landscape, and the dashboard makes room for it. In portrait the screen is all
dashboard.
The tools
- TRACK — tap to start a track. While it records, the tool shows the track’s time and distance; tap it to stop (there’s no confirmation). A paused track blinks a red pause sign; tap to resume. Pausing stays in the menu.
- POINT — adds a waypoint at your current location. It can also take a photo and record an audio note, see below .
- CAMERA — opens the camera and starts recording a video with one tap.
- TARGET — a small compass dial with a green arrow pointing to your navigation target, and the distance to it. Tap it to set, change or clear the target. See below .
- COMPASS — your heading in degrees (or mils) and its direction (N, NE, …), from the compass or the GPS course and
in true or magnetic north, as you set them for the compass panel. Its caption says which:
COMPASSorGPS COURSE. - ALT — your altitude in your altitude unit, with its accuracy (±).
- COORDINATES — opens the coordinates converter at your current location.
- MENU — opens the menu. It’s a tool like the others: last by default, and you can move or remove it.
The small gear at the bottom always stays: hold it to choose the tools.
New toolbars start with TRACK, POINT and MENU. Pro tools show a lock in the list of tools until you upgrade, and choosing one offers the upgrade.
Choose and order the tools
Touch and hold the gear at the bottom of the toolbar (a tap only shows “Hold to customize”), touch and hold any
tool and choose Customize side toolbar…, or open MENU > SETTINGS > Side toolbar.
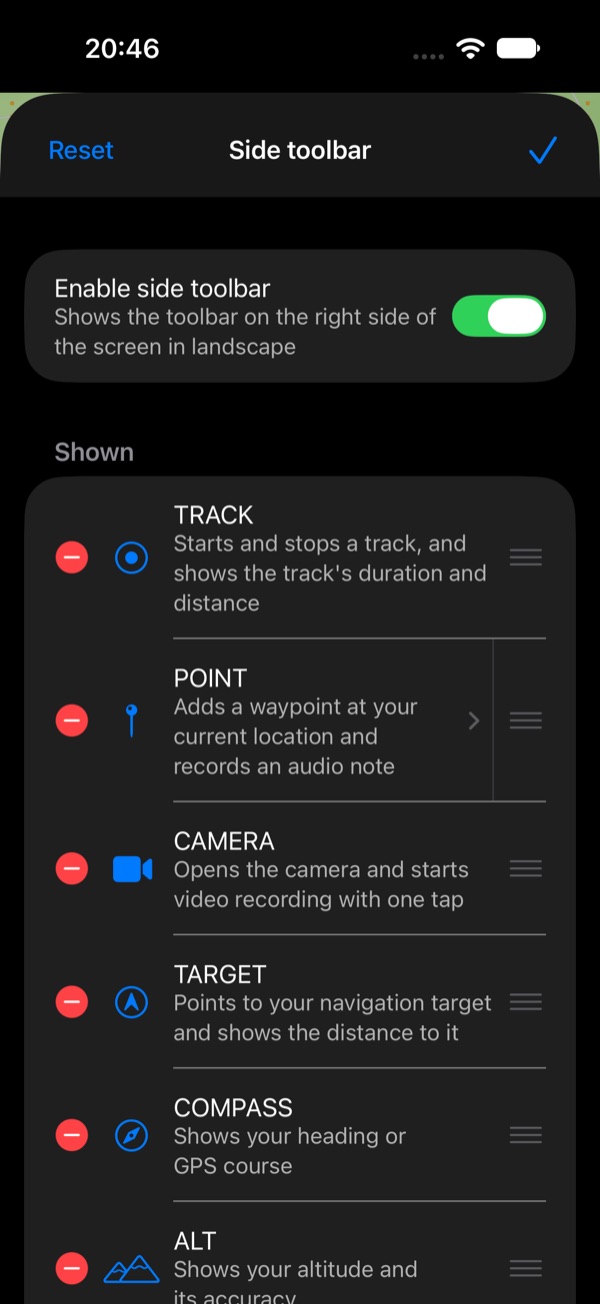
- Add tools from Available; remove or drag them in Shown. Reset brings back the defaults.
- The toolbar shows the tools in the order of the Shown list, as many as fit. Tools at the end of the list appear when there’s room: an iPad fits more than an iPhone, and the iPhone Duo fits more held upright than on its side. Put the ones you need most at the top.
What POINT adds
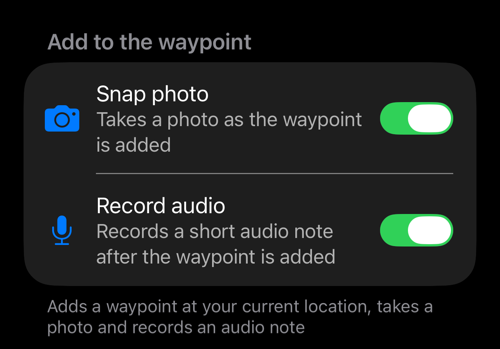
Tap POINT in the Shown list to choose what a tap adds to the waypoint: Snap photo, Record audio, both, or neither (only the location). Without a camera or a microphone, its switch isn’t offered.
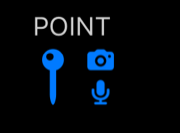
Small camera and microphone signs beside the pin show what a tap will add.
TARGET and the locked course
With a target set, the green arrow points to it and the distance shows under the dial. Without one the arrow is
hidden and the distance reads ---, but the dial still turns with your heading, so it works as a small compass.
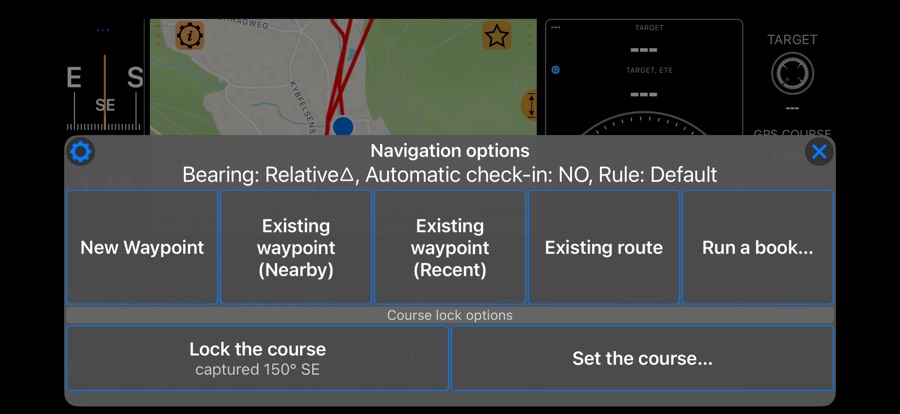
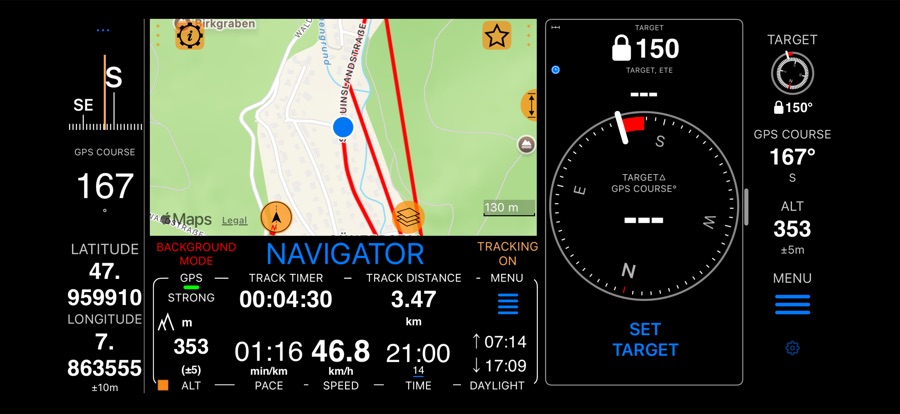
Tap TARGET for the target options. With no target, Lock the course keeps the direction you are heading now (the option shows it, “captured 150° SE”), and Set the course… lets you type one. A white mark then shows the locked course on the dial, a red arc how far you are off it, and the course is written under the dial (🔒150°). The dashboard’s target compass shows the same lock. While a course is locked, the options offer Lock a new course (your direction now) and Release the locked course.
Hide and show it (iPhones and iPads)
- Tap the handle, the small vertical bar at the toolbar’s inner edge, to hide or show the toolbar.
- Or swipe the handle, or anywhere on the open toolbar, toward the screen edge to hide it; swipe the handle away from the edge to show it again.
- iPad in a window (Stage Manager, Split View): a quick swipe at the window’s edge resizes the window. Touch and hold the handle for a moment, then swipe, or simply tap it.
When hidden, only the handle stays and the dashboard uses the space. The toolbar stays as you left it, shown or
hidden. On the iPhone Duo there’s no handle, because the toolbar lives in the vertical bar: turn it off or on with Enable side toolbar in MENU > SETTINGS > Side toolbar.